
How to Use Render Settings to Maximize Your Workflow
It has occured to me how little people know about how to use Render Settings efficiently.
Did you know that you can make multiple Render settings?
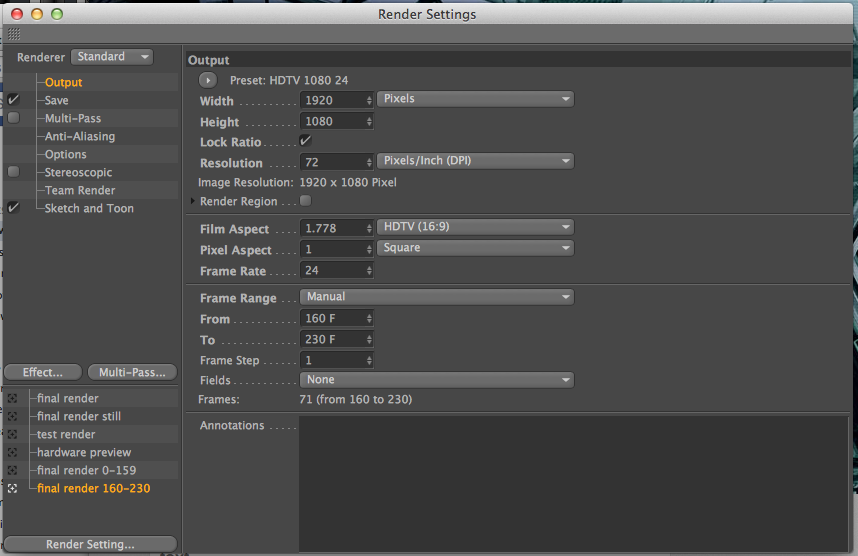
It's true! All of my default projects contain a "final HD all frames" setting, a "final render still frame test" that does not save out a file and a "hardware preview" that I use for animation testing that contains no bells nor whistles.
You can hit Render Setting>New to make a new one or duplicate an existing one with Ctrl-Drag.
But wait! There's one more thing!
If you use the Render Queue, you can render out the same project with different render settings. Just add your project and then Ctrl Drag to duplicate it. Then, change the Render Setting to whatever other setting you want to use. You can even change your camera!
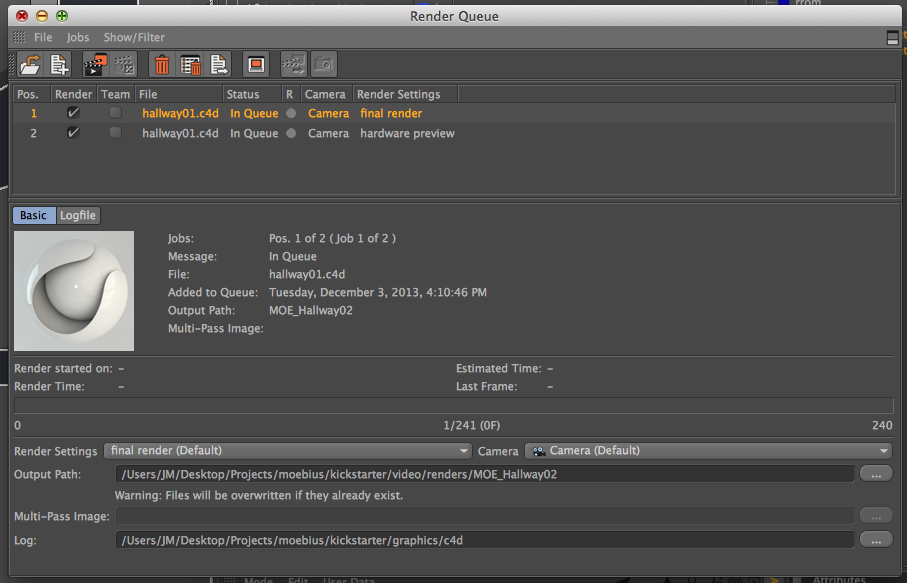
A real world example of this is on my last short film, I rendered out sequences of shots and I had different cameras for different cuts in the sequence. But I didn't want to have all of it in one shot, I wanted different files for each cut. So I made different settings that had different frame ranges for each cut and then added the project to the Render Queue. I then duplicated the Project and chose different render settings.
 1 Comment
Reader Comments (1)
Thank you for this posting, It was one of those Ah Ha!!! moments for me, now this is really going to help me in my work flow...
Cheers!