When you first load up Cinema 4D it has what I would call an unoptimal project setting. 30 frames per second, 800x600 current frame with no AA?! What is this? 1996?
Luckily you can set up a default project file so you aren't always setting up new projects every time you open a new project.
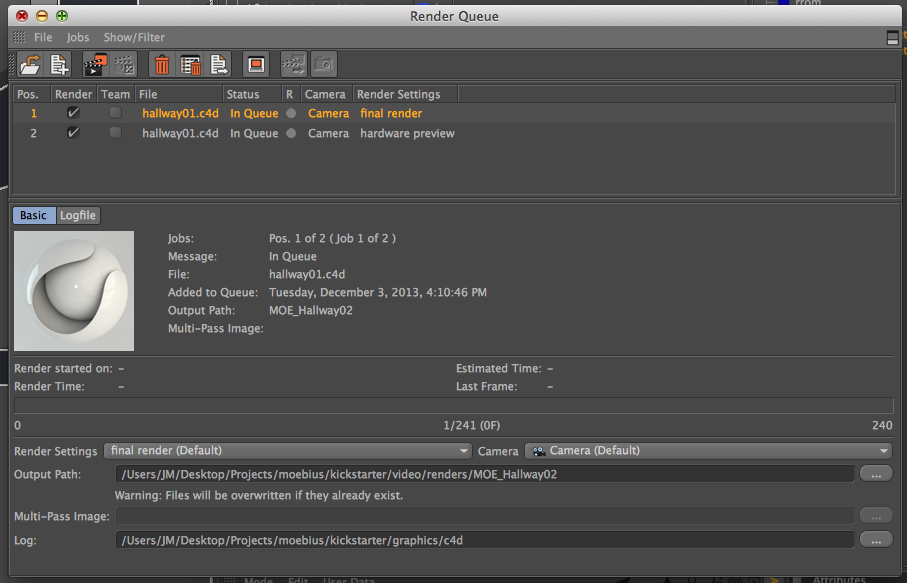
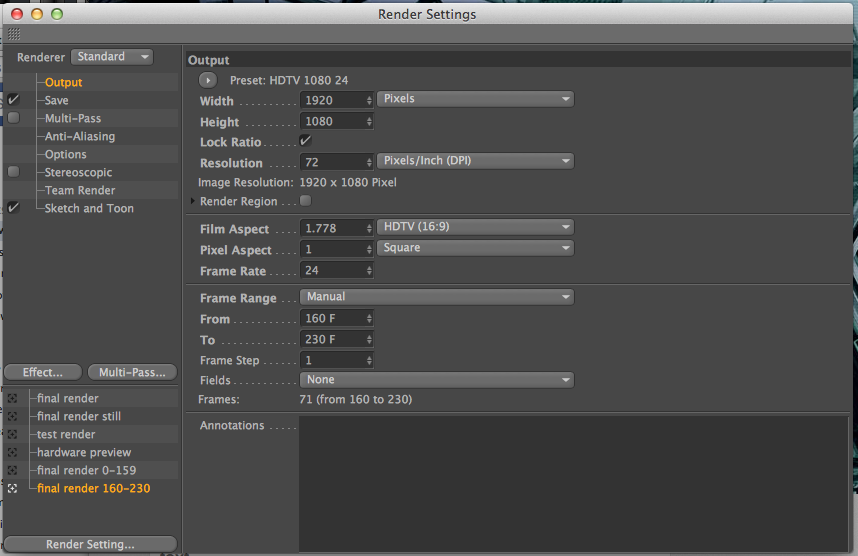
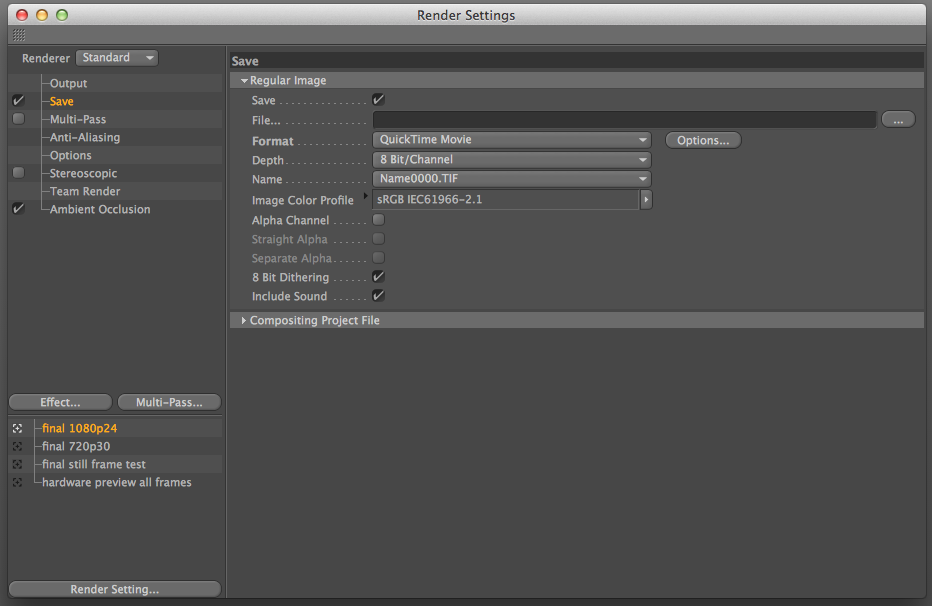
I prefer to have a "Final 1080p24 render", a "Final 720p30 (for the sports clients), a Final Still frame for testing and a hardware preview for animation testing. So I create multiple render settings.
I changed the Project FPS to 24. You can find this Setting by hitting Cmd(Ctrl)+D.

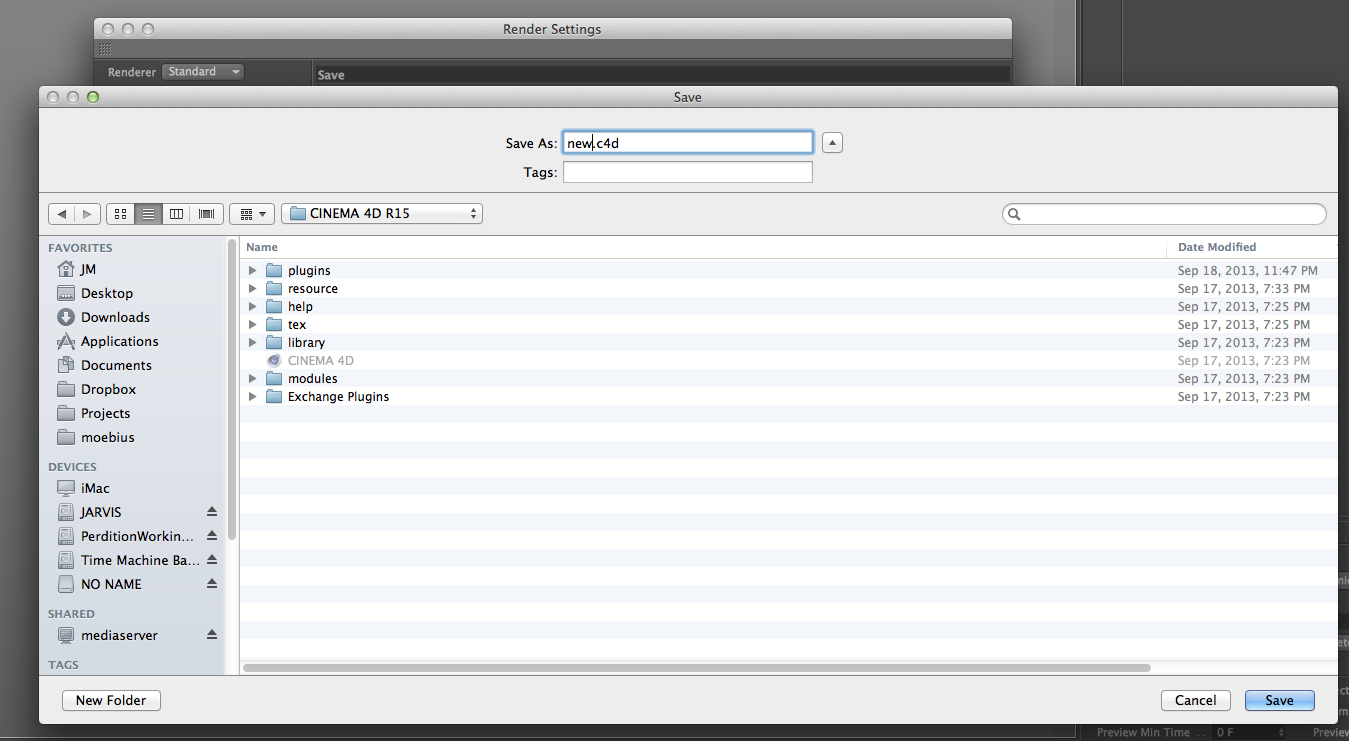
Once you have the project set up the way you want, the next step is very simple. Just save it as "new.c4d" into your default Cinema4D directory.
Now, when you create a new untitled project, it will contain all of your settings that you saved into new.c4d. This works for anything a project can contain. If you always have to have a cube in your projects, you can create a new.c4d that contains the cube. Or lights, cameras, shaders, etc. It's up to you!
Just case you are feeling lazy, I've included my own new.c4d file to use. You can download it here. Note: this project was made in R15 and may not work in earlier projects. But the above information is not exclusive to R15. It works for all versions.


 Post a Comment